
Summary
Students form groups of 2–4 and begin by learning what a microcontroller is and understanding basics behind the Arduino board. They learn to interface it with their laptops and begin by uploading some of the example codes such as ‘blink’. In addition, they try to build basic circuits with LEDs and resistors on solderless breadboards and interface buttons with Arduino and the circuits they’ve built. On this page, we describe the purpose and logistics of running this activity.
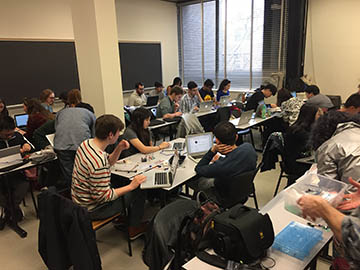
The groups watch Arduino tutorials for their projects. (Image by H. Sharon Lin, MIT OpenCourseWare.)
Purpose
This class was designed to introduce students who had little or no previous experience of working with hardware and / or software such as Arduino to design interactive open-ended projects. Since this is a short course we feel it is important to introduce students to collaborative tools such as GitHub and online Arduino forums so they can advance their skillset after the end of the class.
Team Formation
After introducing the basic logistics of the activity, it is important to set expectations for the students to work together at a pace that is suitable for every member of the group. In order to make this a reality, it is important to instruct the students to be very vocal about every question they have, asking the group to pause and discuss the question. Again, remind students that they are here because of the social support, not just to rush through a tutorial or build a final project. Tell the students that the point of this activity is as much to talk as it is to do. The more students learn to be vulnerable and ask questions, the more they will be able to succeed in the modern collaborative environment. It can be helpful to guide students to form groups after a brainstorming session to align students with similar interests. Also, informing students that they should jump into another group for any reason at any point.
If you can model what it looks like to ask a question and answer a question supportively, it can also be a very potent technique for ensuring a supportive experience for students. This is an opportunity to learn and to learn to teach.
Tutorial
The class discussions, tutorials from the Arduino website and other resources (listed below) will be used to help the students get started with the process of creating interactive projects with the Arduino.


