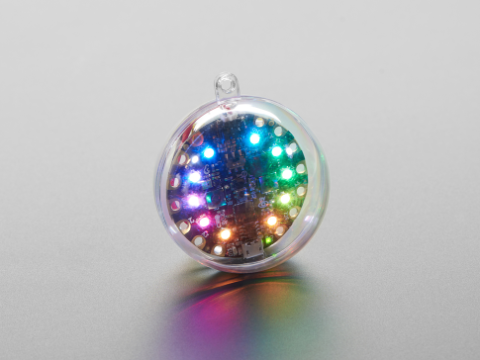
Before you can start, you will need to gather the supplies. This experiment uses an Adafruit kit, specifically the Bluefruit Playground Hide and Seek kit. Adafruit is a company that builds education prototyping electronics. The kit that we will be working with for this experiment can be purchased in pieces for $32.85 per kit from the Adafruit website.

Additionally, the kit does not come with a USB cable so you may need to acquire one. When searching, be mindful of the type of USB cable. Make sure that one side is MicroUSB, which is needed for the Adafruit board. For the other end of the cable, you will have to see what type of ports your computer has; it is typically a USB Type-A port but for newer Macs, you may only have USB Type-C ports. If you had an Android smartphone, you might find that you have one of these cables already and can just reuse for this purpose.

The pictures above show the following (in this order): MicroUSB cable end, USB Type A port, USB Type B cable end, and USB Type C cable end, respectively.
You will want to do this with a friend or two, as two kits are needed to run the experiment.
Supplies list:
- Circuit Playground Bluefruit - Bluetooth Low Energy x2 - $24.95 each
- Lithium Ion Polymer Battery with Short Cable x2 - $5.95 each
- DIY Ornament Kit x2 - $1.95 each
- USB Cable x1
- Note that we do not require the Circuit Playground Enclosure for this activity. However, you can use this enclosure in place of the Ornament kit if you would like. It is more expensive at $4.95.
If you are waiting on the kit to arrive in the mail, continue with the lesson and come back to this experiment later. You can also skip this lab if you have time constraints. Kits may be available for loan on a case-by-case basis.
For this Bluetooth Hide and Seek experiment, the Design phase is provided for you. The descriptions here will give you a look at an example of good project documentation, which should allow others to recreate and use what you’ve built. You will be taking over the experiment starting at the Build phase.
Looking at the Science: What is Radio Frequency?
You know how cell phones get five bars sometimes but other times only get one? Even further, if you go to a place where cell service is weak, you might not get any bars and your phone may even tell you it cannot connect at all.
This happens because Radio Frequency (RF) energy gets lower the further away from a tower you are. With good cell coverage, there are many towers available to your phone. In some remote places, the coverage is spotty and you might be too far away to reach a tower. This phenomenon is called propagation loss. The further between radios, the weaker the signal is.
We can take this observation and turn it into a game. By looking for specific radios, we can tell if they are nearby or far away by looking at how much RF energy we are receiving from a specific radio. With this, we can play hide and seek, trying to find the people hiding by looking at the RF energy that their Bluetooth beacon is transmitting to our device.
With radios, we call this specific pattern of RF energy a “Signal”. The idea is to look at the signal strength we receive from another radio. When we measure it, we call this measurement a Receive Signal Strength Indicator or RSSI for short. The RSSI number tells us how strong or weak a signal is. Signal strength is proportional to distance, so we can tell how close or far away someone is by looking at the RSSI value. But RSSI isn’t foolproof. RF signals can be blocked by things like buildings or terrain, making thing appear further away than they actually are.


