
| « Previous: Assignment 1 description | Next: student work sample » |
By Sarah Witt
A portable seatbelt to psychosomatically enhance confidence and comfort in dangerous situations through the notion of faux protection. (Unbeknownst to the antagonist, of course.)
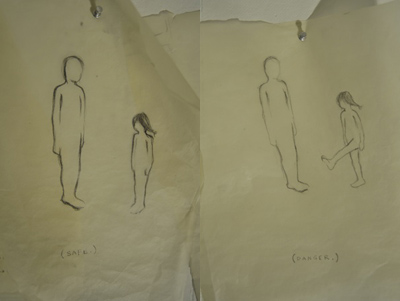
SAFE ………………………………………………and NOT SAFE
Occasionally, everyone finds themselves in situations that are undesirable. Often, the “undesirable” portion is a result of our own exaggerated misinterpretation in comparison to what actually is happening. But not always. And for those threatening situations in which safety is truly at stake, one must be prepared. That is why we’ve created the USD. It’s a portable seat belt, worn discretely as a fashion statement around the hips, but is easily transformed into functioning protective gear that acts as both a physical barrier and an alarm system when the wearer is confronted by danger.
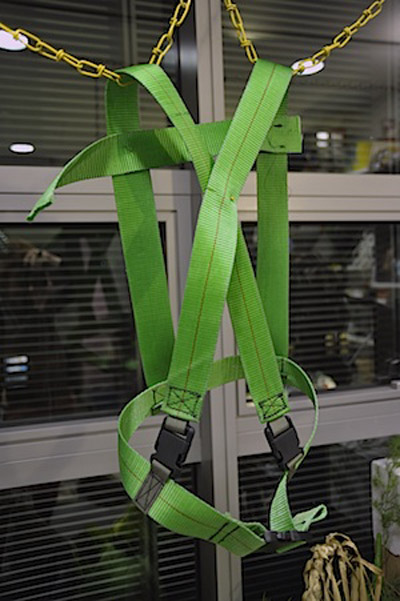
The starting point: a belt form that straps across the chest.
Our team of designers began with a traditional belt form that straps across the chest, protecting the upper torso from coming in physical contact with the offender. But we decided this minimal barrier could be optimized by embedding electronic components that warn the offender to “stand back,” simultaneously functioning as an alarm system that can publicly notify bystanders of the emergency. Initially, we considered an additional apparatus wired to the belt that would take on this extra task.
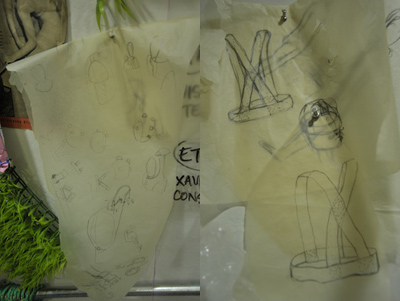
Rejected idea: an audio alarm adhered to the head.
Although effective, we chose not to implement an abrasive audio alarm adhered to the head, as this embellishment could potentially damage the wearer psychologically, primarily by embarrassment. It was determined that LED lights stitched to the belt would be a more polite and overall effective method to alert the offender and cry for help.
Tightening the belt activates the lights.
In keeping with our hopes to limit embarrassment to the wearer, we decided a switch to activate the lights could be naturally integrated into the belt-tightening mechanism.
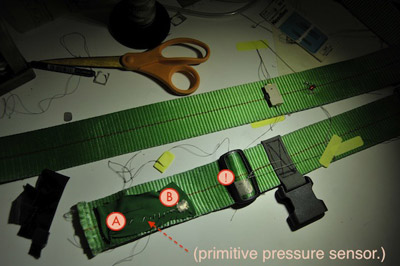
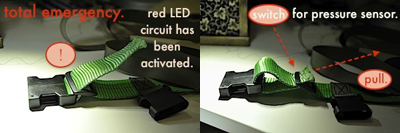
The initial mechanism, based on a pressure sensor.
We began by stitching a pressure sensor out of conductive thread. “A” indicates the weakly connected, least-sensitive side of the switch, that, when in contact with “!” should elicit a faint red pulse from the LED. “B” indicates the maximum surface connection on the switch, which, when in contact with “!” will allow full flow of electrical current to the LED.
But. We found that the sensor was inaccurate, sloppy, over-sensitive and over-sized, allowing room on the strap for only one red light. In order to make a more concise operating system that allowed for a gradation of “safety,” we stitched a calculated circuit (that also had a better color scheme) that aligns with different connection points that turns each LED on and off in consecutive order as the belt gets tighter.
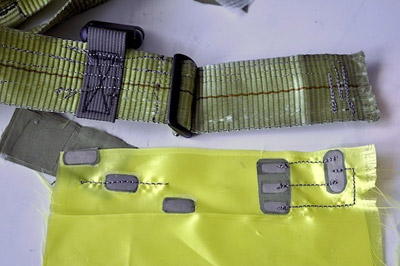
The improved mechanism, with staggered patches of conductive fabric, supports a sequence of lights as the belt is tightened.
Each staggered patch on the left side of this photo is a piece of conductive fabric, and is connected to the negative node of each LED via a long conductive thread stitch around the belt. When passed over the pieces on the right side, which align to the corresponding positive node of each LED, the individual circuits will be either open or closed, allowing the wearer to change the color from green to red discretely by the simple act of tugging the belt.
So. In conclusion, we found that an intricate and carefully stitched circuitry of conductive thread, isolated by non-conductive fabric, attached to a low-voltage, light-weight battery could allow the wearer of the USD to clandestinely turn on the green, yellow and red lights by simply dragging the excess belt across one point of the device that had individual activation points for each switch.
It is totally safe, and totally recommended for the hyposafetiac in you.
| « Previous: Assignment 1 description | Next: student work sample » |


