
« Embroidery Machine Tutorial, Part 1 | Readings, Lectures & Tutorials Index
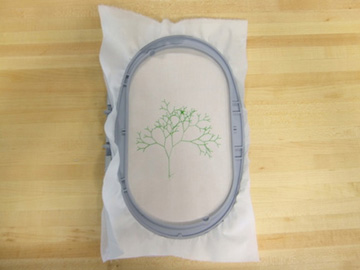
A sample of machine embroidery.
We have a Bernina Artista 630 Embroidery/Sewing Machine. You can also find more information about these steps on page 115 of the Bernina book.
1. Get your supplies together.
- a piece of non-stretch fabric
- a piece of interfacing to stiffen the fabric
- thread for your embroidery
2. Attach your interfacing to your fabric and hoop your material
If you’re using an iron-on interfacing, iron the material to your fabric. Put your fabric and interfacing into the embroidery hoop so that the fabric is facing up and flush with the bottom of the hoop.

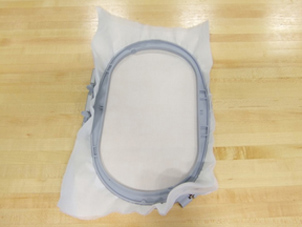
Putting fabric and interfacing into an embroidery hoop.
3. Set up the machine for embroidery
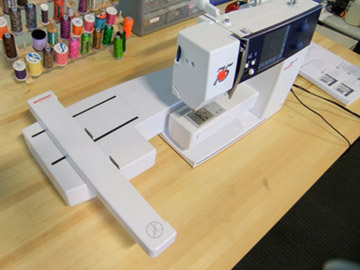
Attach the embroidery arm and plug it into the machine.
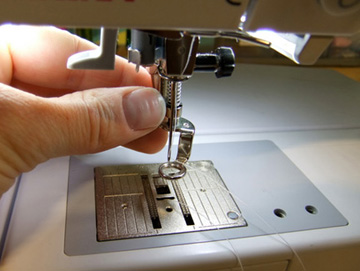
Lower the sewing machine teeth – the “feed dogs” – and attach the embroidery presser foot.

Put your hoop in the machine.
4. Open your pattern
Plug your USB stick into the machine.
Browse to the USB stick and open your pattern.
You can use the menu on the machine to scale, move, and rotate your pattern.
When you’re ready hit the OK button.
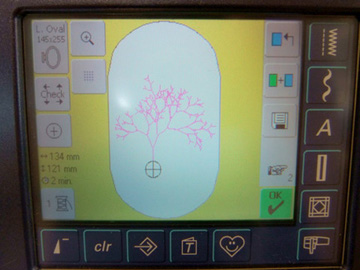
The embroidery machine control menu.
5. Embroider your pattern
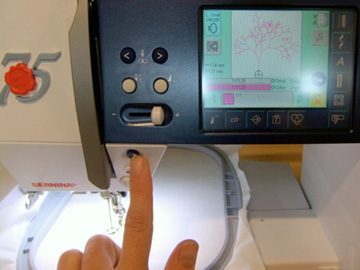
Put the presser foot down. Hold down the button with the two dots until the machine starts to stitch.
Finished!
« Embroidery Machine Tutorial, Part 1 | Readings, Lectures & Tutorials Index


